This post may contain affiliate links.
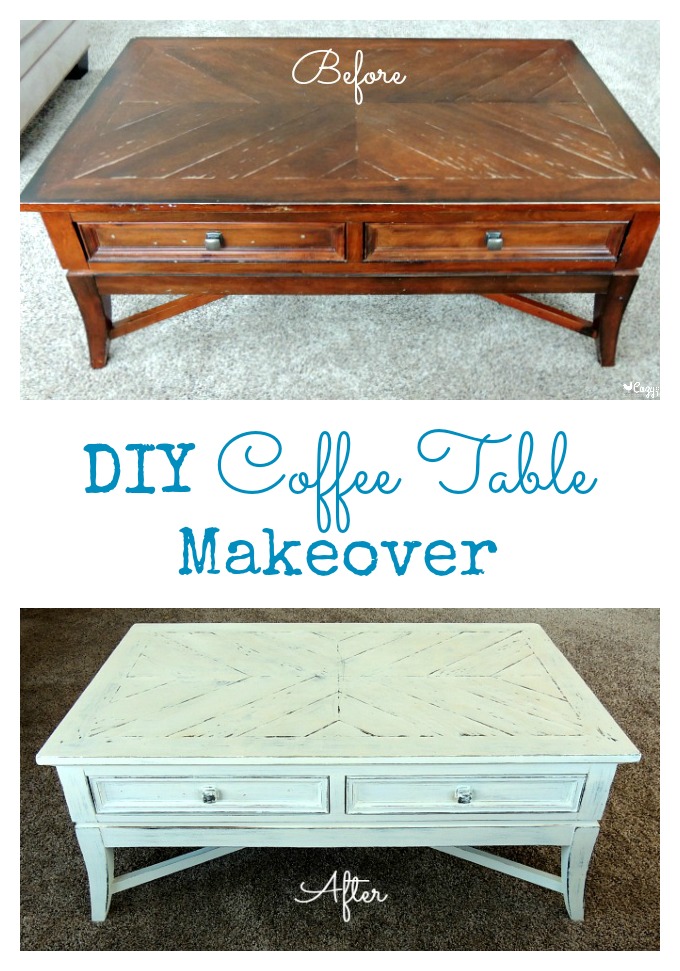
Last month I shared my bare and empty Living Room with you all along with some of the ideas I had for our family’s new space. You will have to check back on Friday to see Our Big Living Room Reveal, but today I am sharing my DIY Coffee Table Makeover! There was nothing structurally wrong with our coffee table, but it just wasn’t looking nice anymore. My children had really left their mark on it (literally with scratches, crayons, markers and pens) if you know what I mean and the color was not going to look that great with my new furniture I had picked out for the Living Room either. A definite makeover was in order!
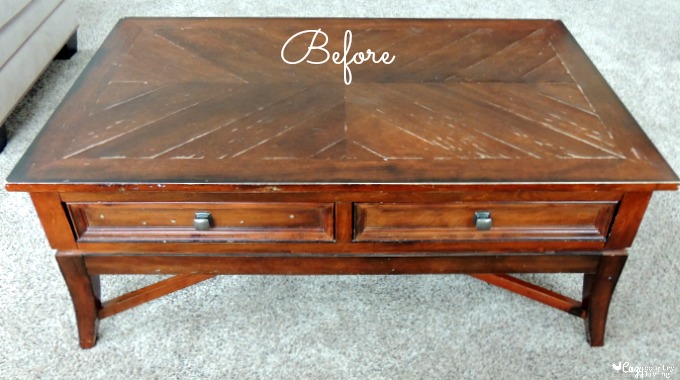
I really like the worn in, but loved look of distressed furniture.
I had a good amount of leftover Martha Stewart Vintage Decor Paint from the painted Toy Chest project I did last year, so I didn’t even need to make a trip to Michael’s this time around.
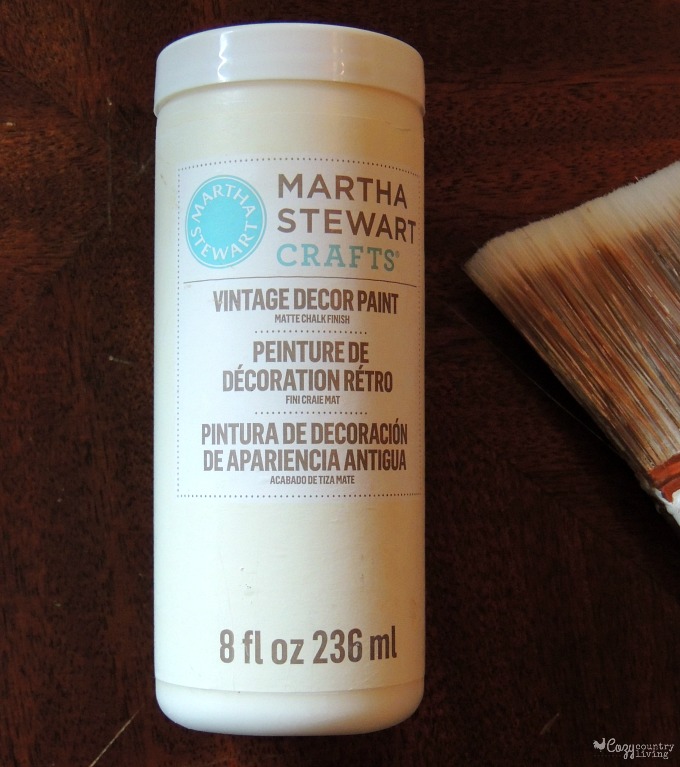
I love this paint because you don’t have to really do any prep work. I like DIY projects that don’t take all day. I’m an instant gratification type of girl when it comes to painting. After a quick dusting, I was all ready to paint.
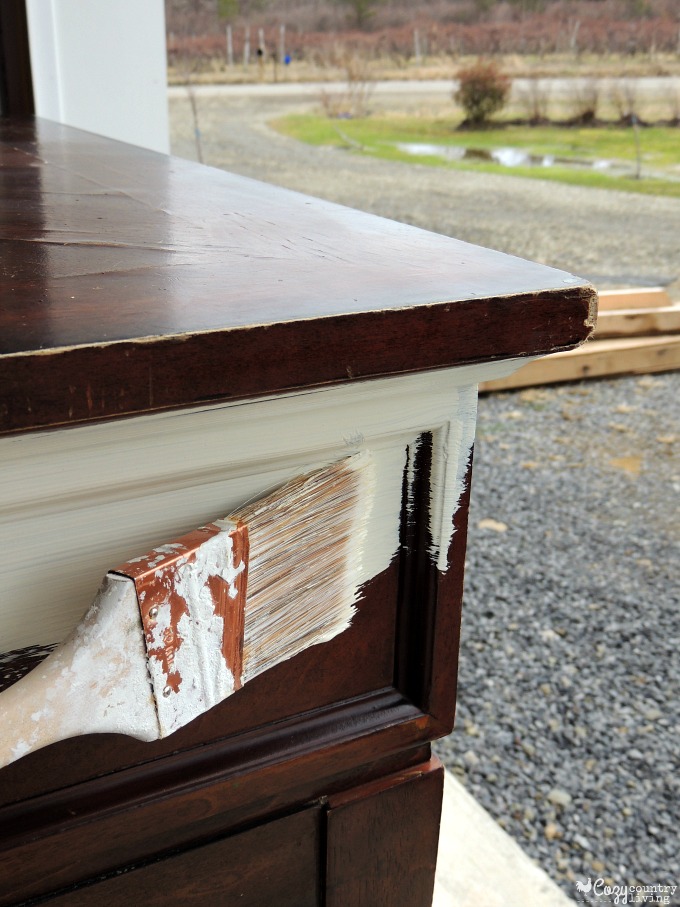
I have to admit, the first brush stroke of that cream colored paint over the dark coffee table made me nervous, but Hey- this table really couldn’t look any worse. What did I have to lose?!
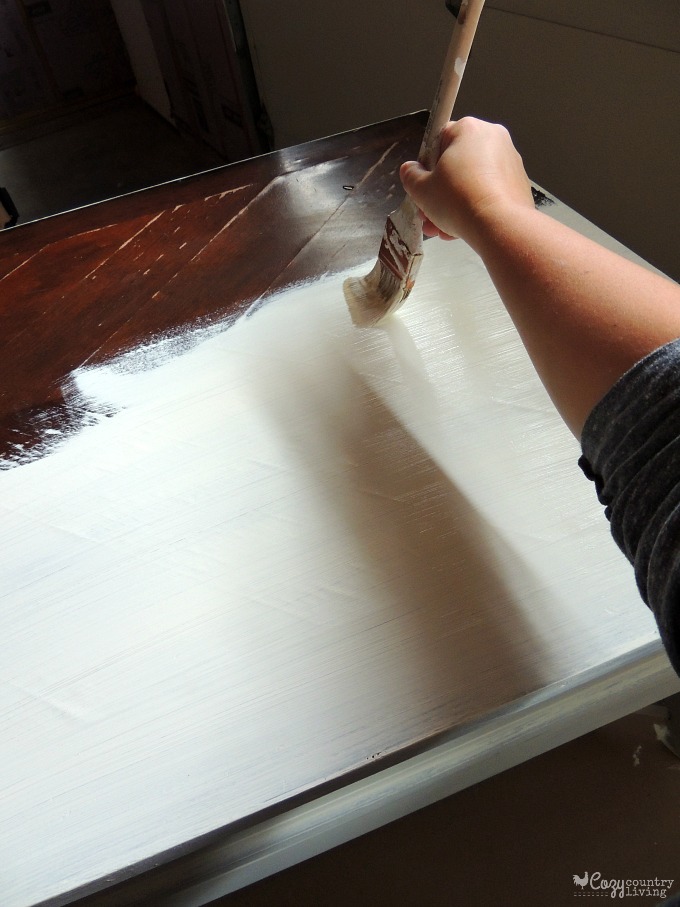
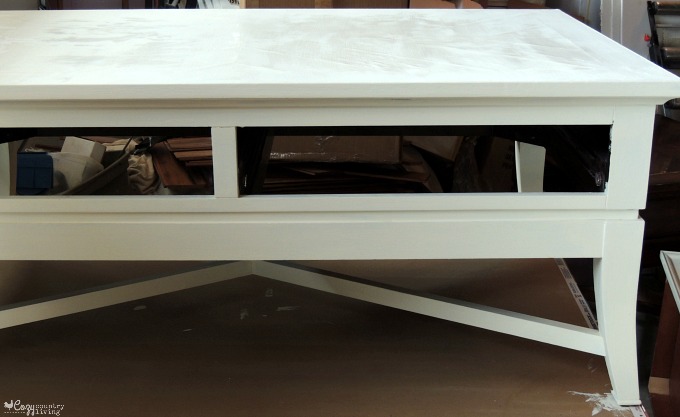
After a few minutes of painting I was loving the color on this table! It was easy to paint and I had 2 coats on in no time.
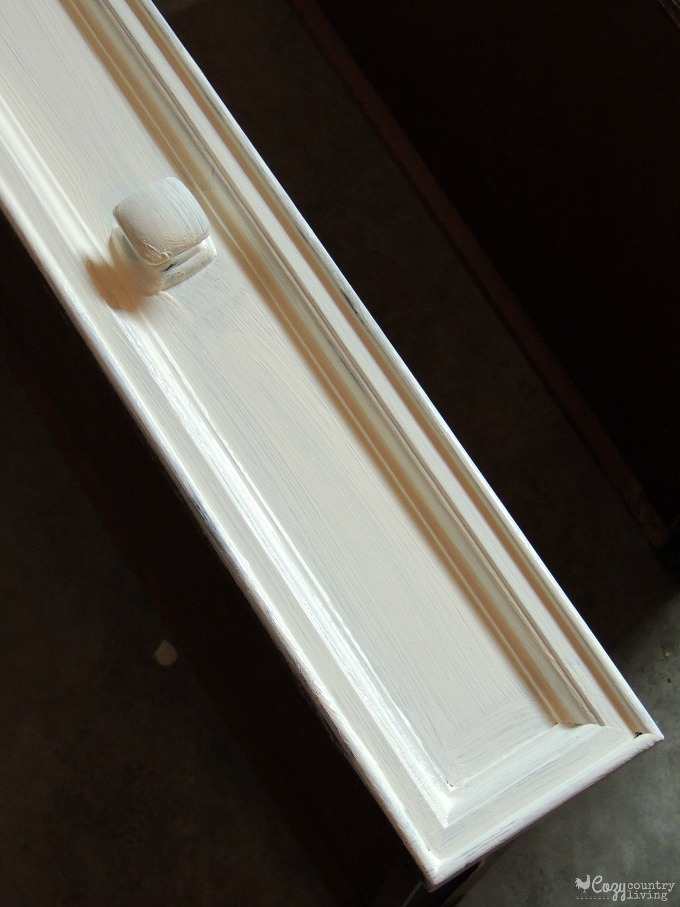
I let the paint dry for 24 hours and then it was time for the distressing. I’m always a little hesitant about making the first mark and getting some of that fresh paint off, but once I get started I’m fine.
I started with a 220 grit piece of sandpaper, but that wasn’t doing much. I switched to a 18o grit sanding block and that didn’t seem to work either. I headed into my husband’s supplies and found all different grit sandpapers for his palm sander. I tried all of them and ended up using a 60 grit piece for most of the distressing to get the look I wanted. Maybe I shouldn’t have painted on the 2 coats….Oh, well!
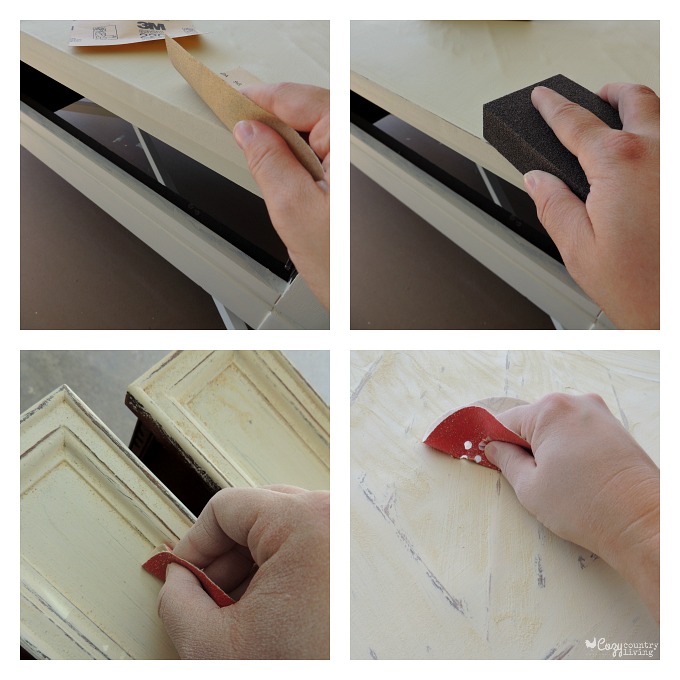
Once I got going I really got a feel for areas I wanted to distress more. The edges, the corners and especially the smaller pieces of wood that were placed in different directions on the top of this table. I thought this really gave this piece some character. I also scuffed up the knobs I had painted over as well. I didn’t want perfect looking, brand new knobs on a piece that was suppose to look a little worn.
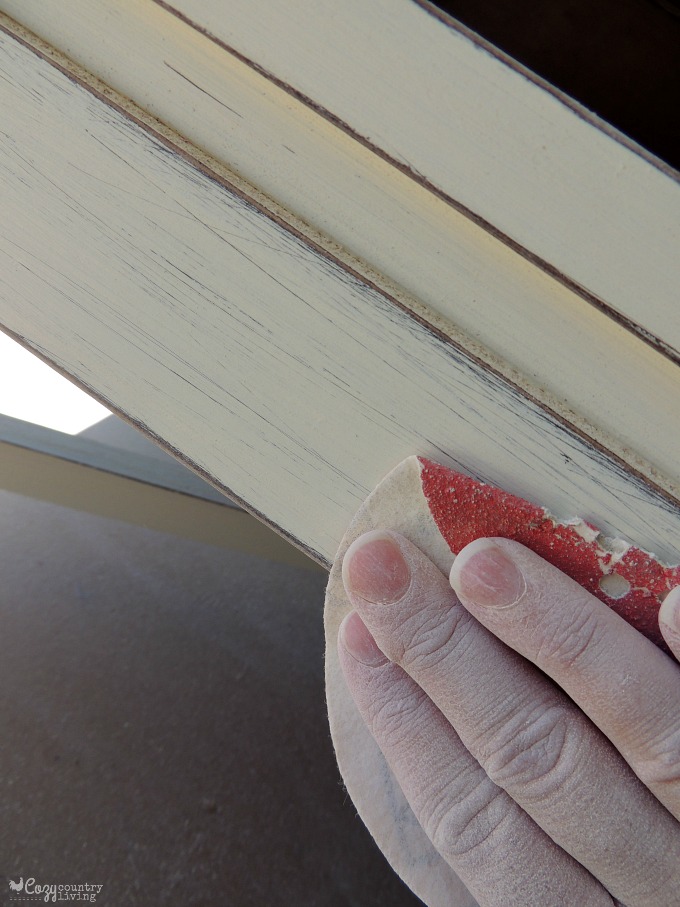
When all of my distressing was done, it was time to put on the Vintage Decor Clear Wax finish.
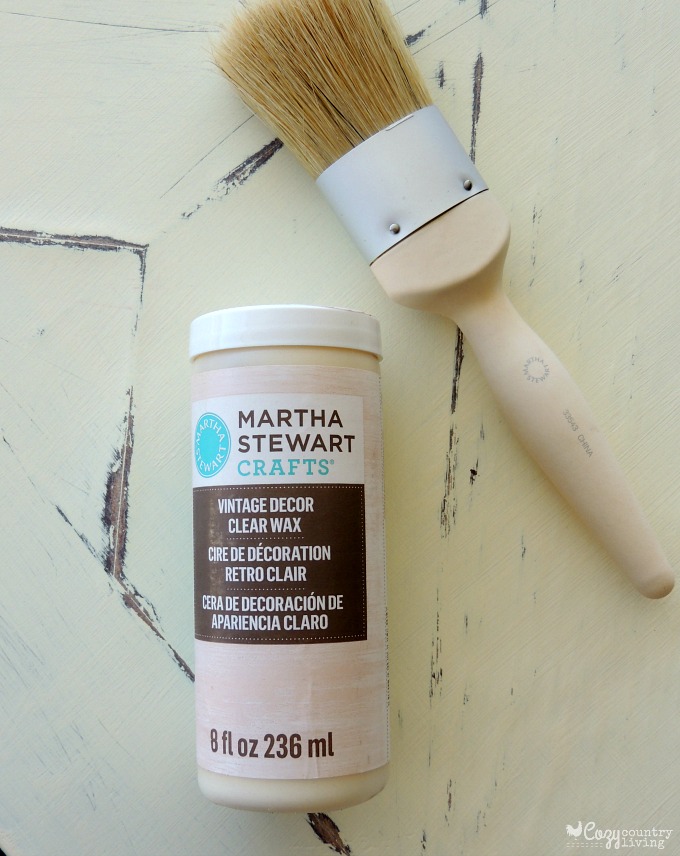
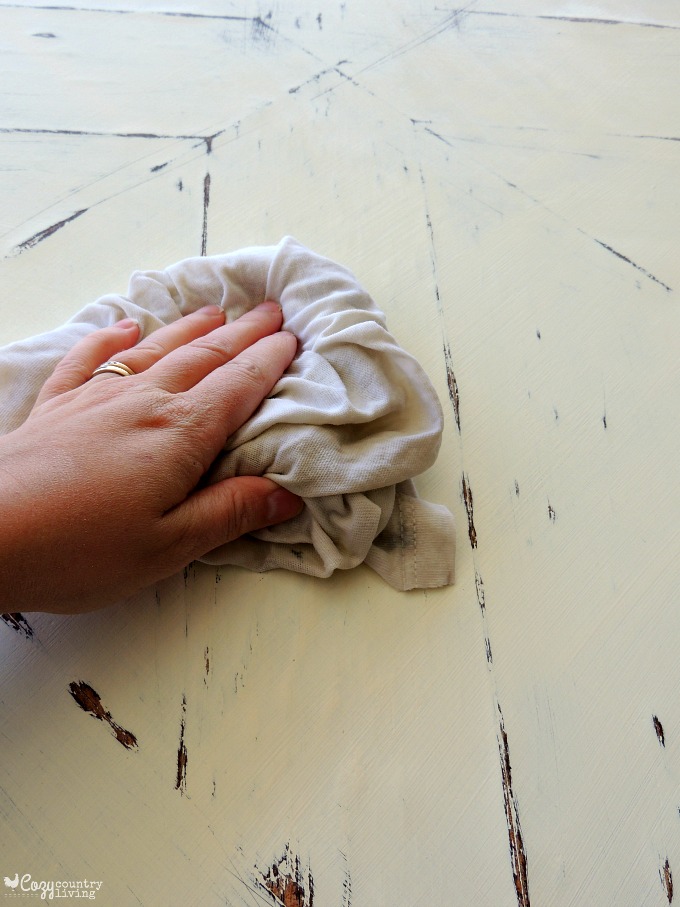
This helps protect the piece and takes only a few minutes to paint on and wipe the excess off. Waiting a whole day (24 hours for drying) was the hard part! I couldn’t wait to get this coffee table into my Living Room and see how it looked with all of my other new furniture.
The next day my husband carried the coffee table into the Living Room and I just loved it! I am so happy that I took the time to paint this coffee table! It’s definitely a focal point in the room and pulls all of the other furniture pieces in the room together nicely. So, what do you think?
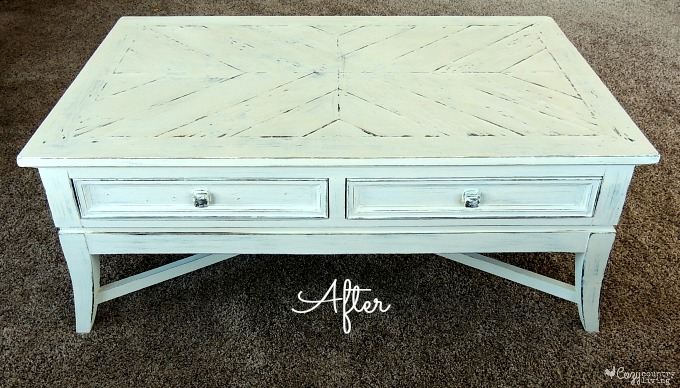
Do you want to see how I styled this lovely table in my new Living Room? Make sure to check back Friday for some Spring inspiration & my Big Living Room Reveal!
*Linking up at Living Well Spending Less, Skip To My Lou, Home Stories A to Z, Karen’s Up On The Hill, The Shabby Nest



[…] for a feminine and romantic type feel. Tulips are my favorite flowers, so displaying them on the coffee table really helped pull together the color from the other accent pillows I had. Getting really comfy […]