This shop has been compensated by Collective Bias, Inc. and its advertiser. All opinions are mine alone. #RoofedItMyself #CollectiveBias
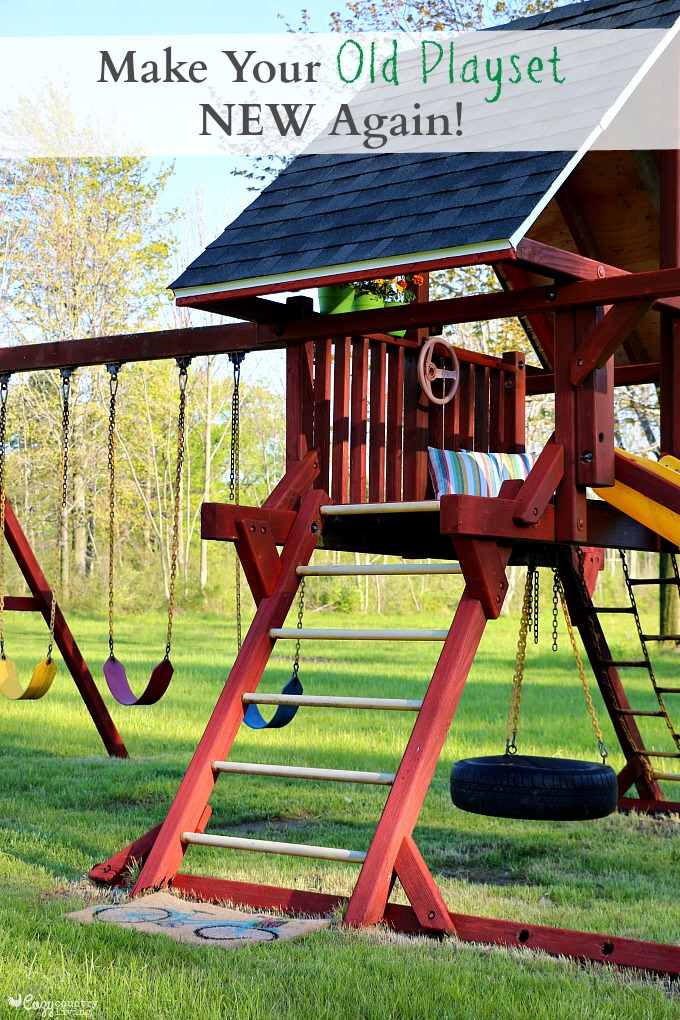
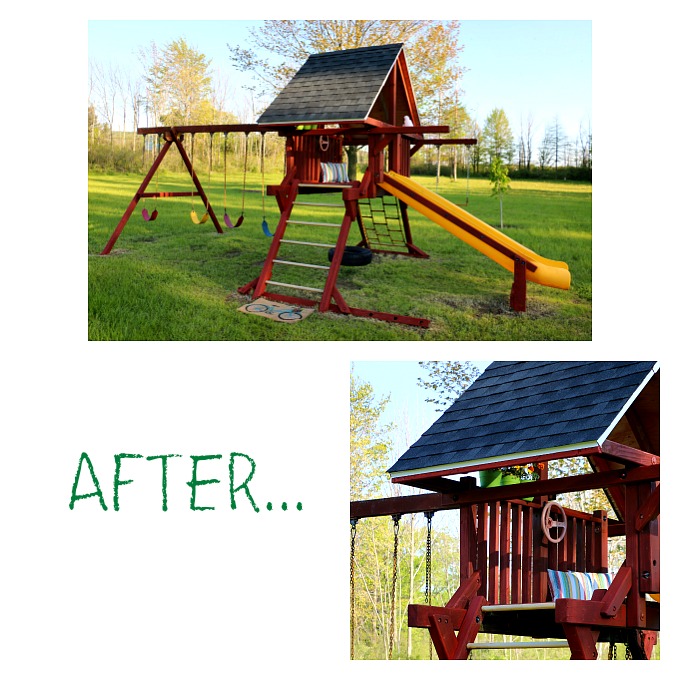
Purchasing a playset for your children is a great investment. It provides them with countless hours of outdoor fun & creative play in addition to making great memories. We’ve had our playset for a while now and although it’s still a backyard staple for our 4 kiddos ages 6-14, it’s taken quite a beating over the past few years. This Spring we’re giving our backyard a little makeover and Making our Old Playset NEW Again!
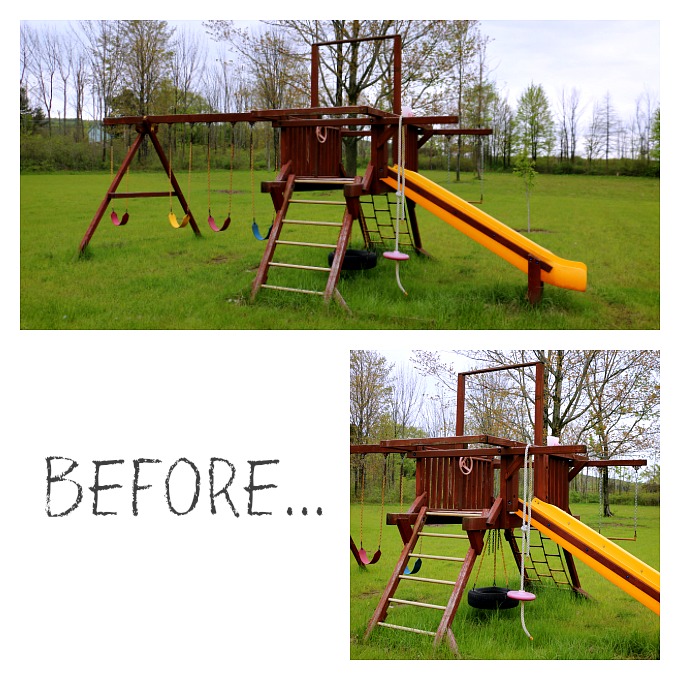
Many windy, rainy and snowy seasons eventually took it’s toll on the original canopy that once covered the top of our playset. Our children really missed that “shelter” from the sun and the idea that being under cover is well… just more fun!
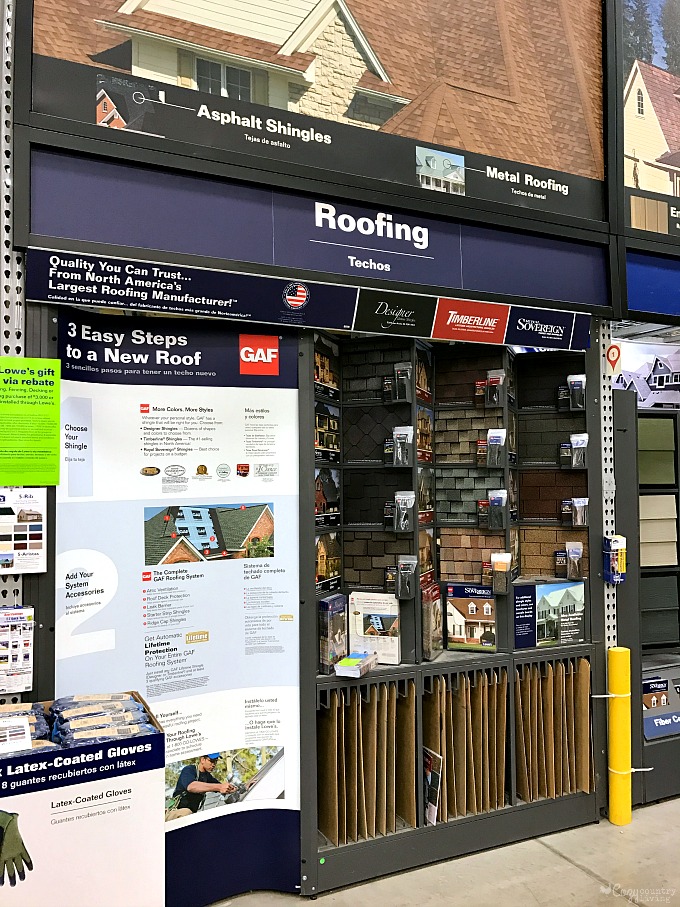
My husband and I decided we wanted to build our own roof to make the playset feel and look complete again. After measuring the area, we headed to Lowe’s and found the GAF Roofing Center.
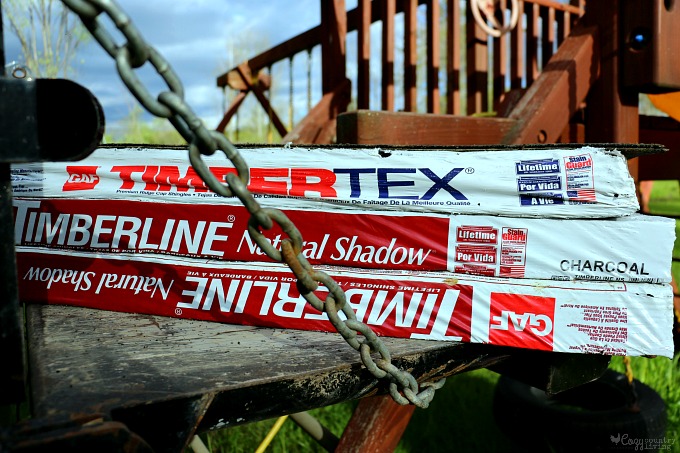
The GAF Roofing Center shows you the different types and colors of shingles available. It was important to us that we use GAF Timberline Shingles because they not only look good, but they are extremely durable too! These are the best selling shingles in North America and are often used by contractors, but DIY’ers love them just as much!
GAF also stands behind their products and offers a Warranty!
Have you ever installed your own roofing before? If not, start small with a project like this one!
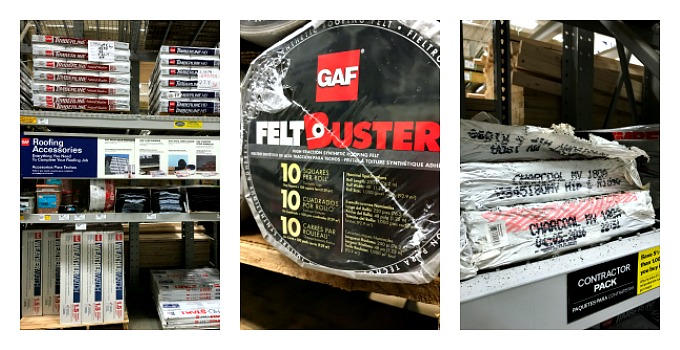
For this project you will need:
- Timberline® shingles (High Definition®, Natural Shadow® or American Harvest®)
- Pro-Start™FeltBuster® High-Traction Synthetic Roofing Felt FeltBuster®
- TimberTex® Premium Ridge Cap Shingles OR
- TimberTex® Seal-A-Ridge® Protective Ridge Cap Shingles
- Nails: 1 ¼” galvanized steel roofing nails
- Nails: 1” – 1 ¼” round plastic cap roofing nails
- (8) 2 x 4’s
- 1 piece plywood
- Metal or Aluminum Drip Edge (optional)
- Tape Measure
- Hammer
- Redwood Stain
We chose Timberline® Natural Shadow® shingles in the Charcoal color to match the roofing on our house.
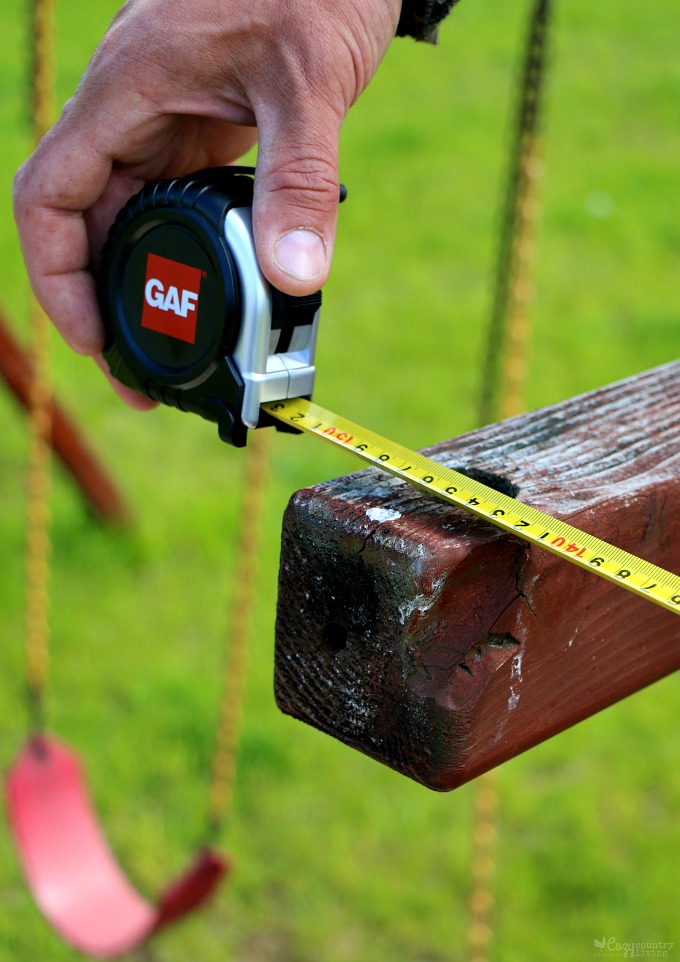
Keep in mind that measurements will be different for all sizes of playsets out there. Measuring accurately will be your key to success here.
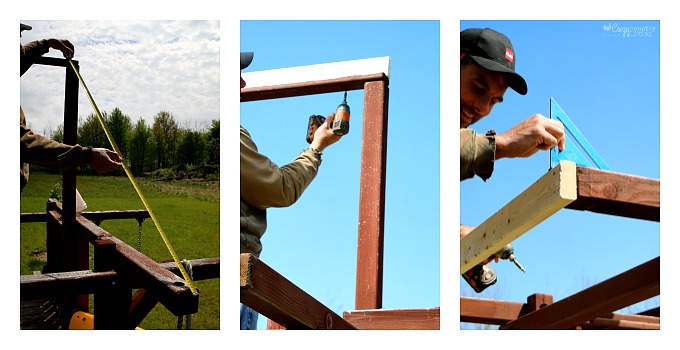
We (my husband) started the roof by measuring and cutting ridge board and fascia boards to frame the roof. Since my husband is quite tall, he pulled the back of his pickup truck to the playset to work off of safely. You may use a ladder if needed.
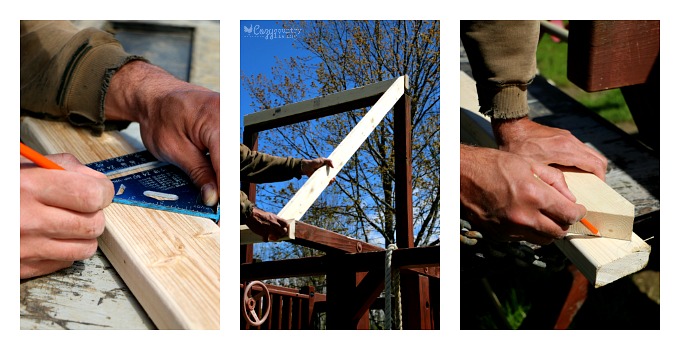
After cutting an angle on the first 2 x 4 rafter for the roof, that piece becomes a pattern. Use the pattern to correctly cut the remaining 7 rafters. Then screw them into place.
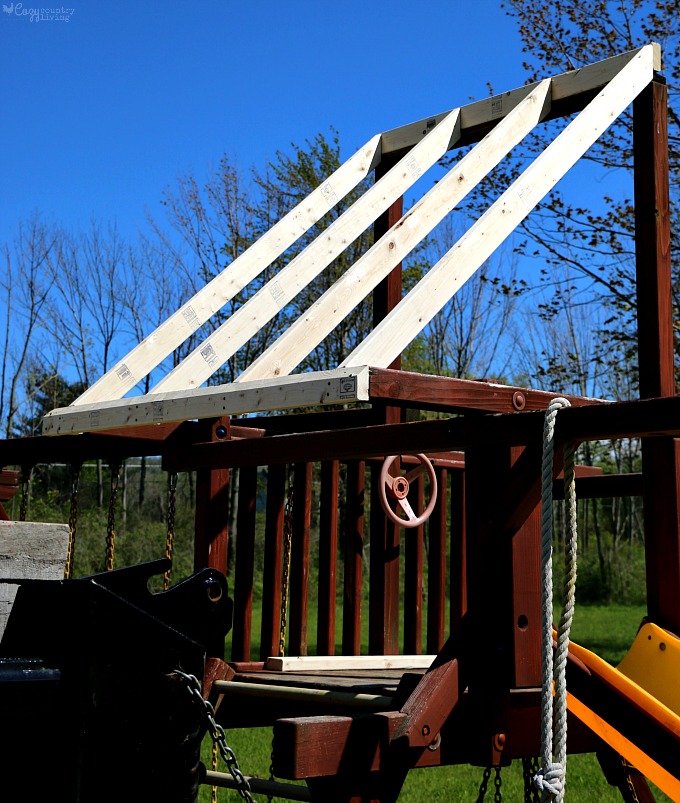
Measure the roof area and cut the plywood to place on top. Nail the plywood onto the rafters to secure. Repeat for the other side of the roof.
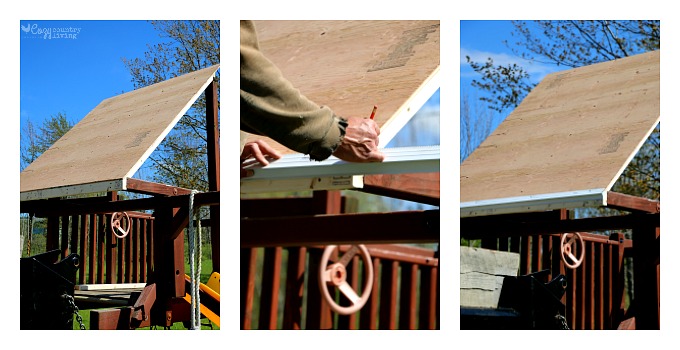
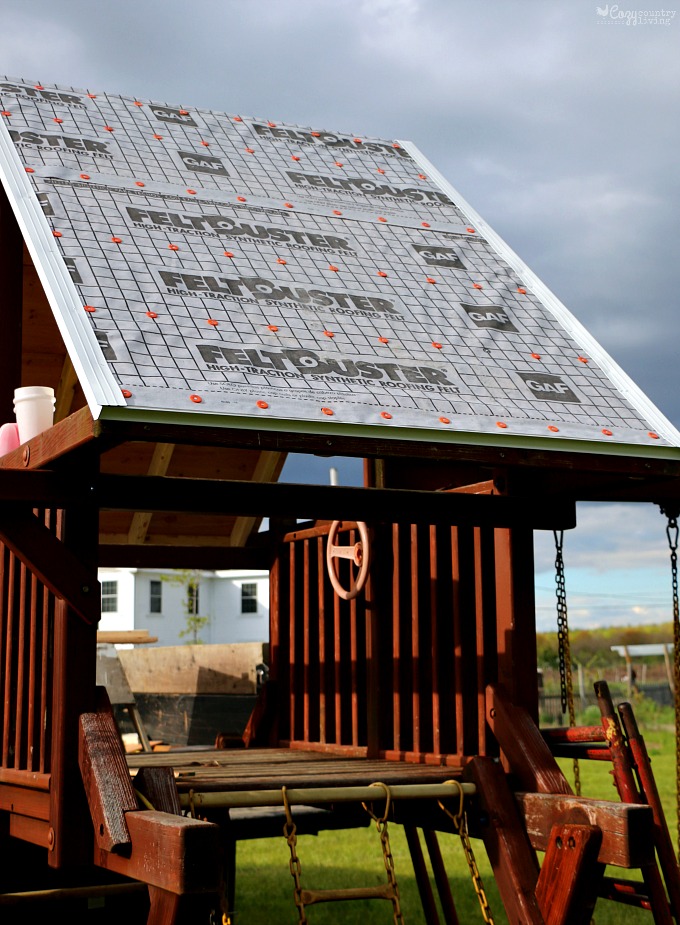
Measure the plywood roof area and add drip edge if desired. Then cover the roof with FeltBuster® and secure with round plastic cap roofing nails.
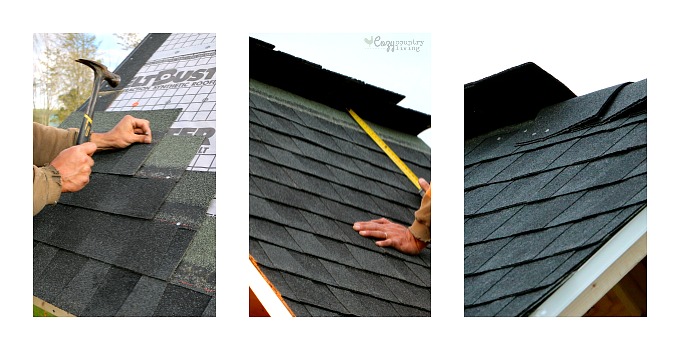
Start a pattern with your Timberline® shingles and complete the first side of the roof. Fill in the field and make any necessary end cuts along the rake edge and ridge.
Repeat on the other side of the roof. Add the TimberTex® to cap the ridge and secure following package instructions.
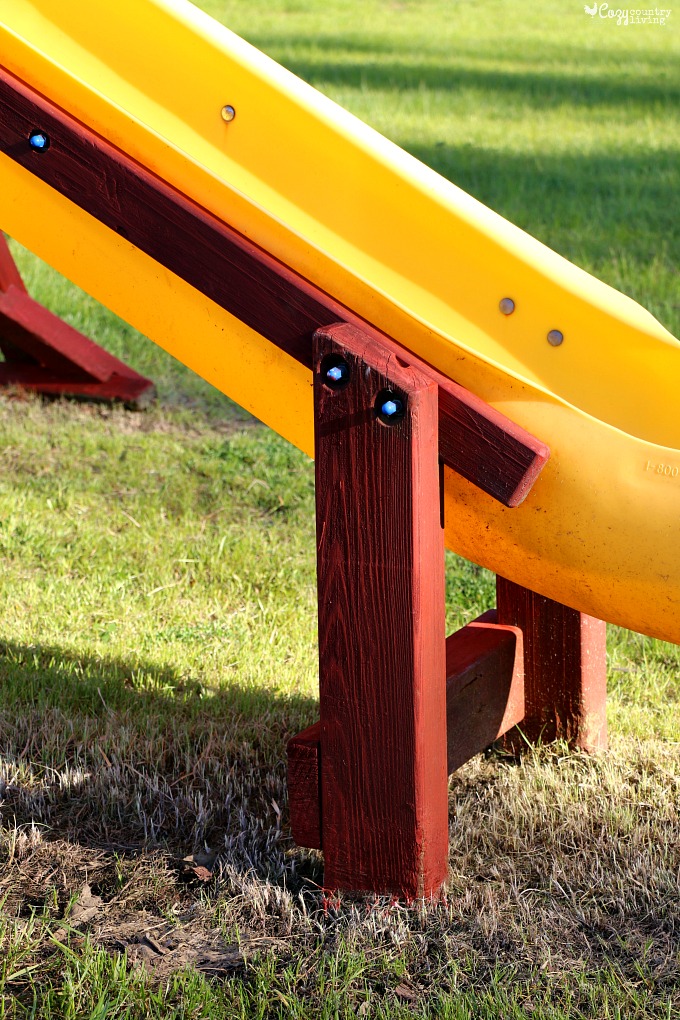
I brushed and rolled the stain onto the worn wood of the Playset and let it dry for 24 hours. Not only does this freshen up the playset and make it look like new, but it helps to protect it as well.
With the warmer temperatures, I couldn’t wait to add some flowers to this space. I purchased a few simple green plastic flower planters to plant them in to complete the look.
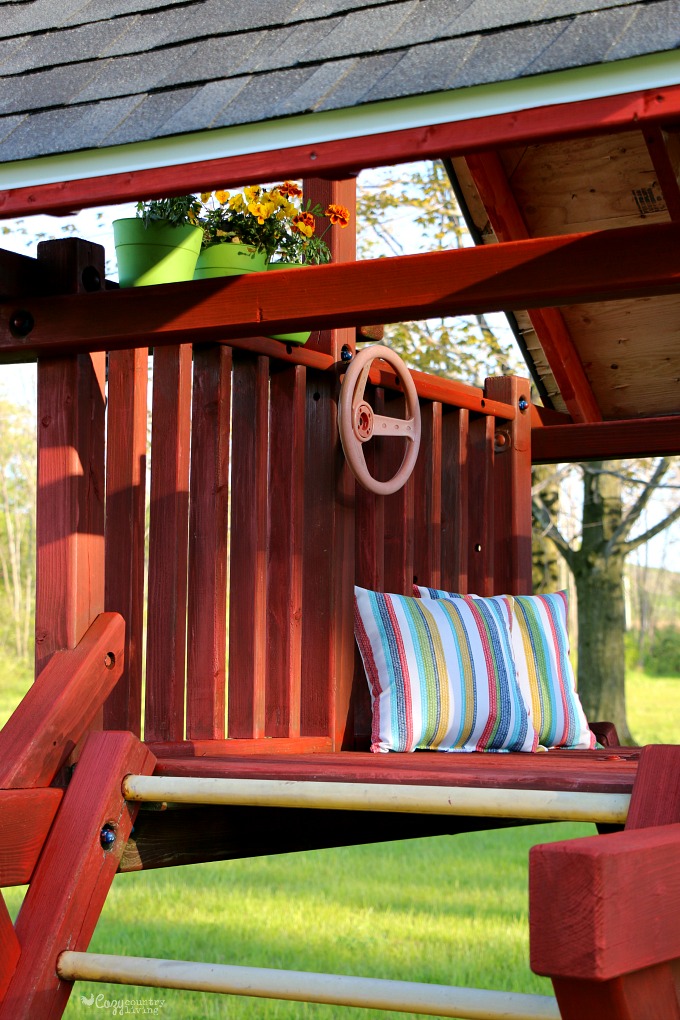
One final touch- a fun bicycle welcome mat and some colorful striped outdoor pillows for the playhouse! It’s the perfect place to read or play a game!
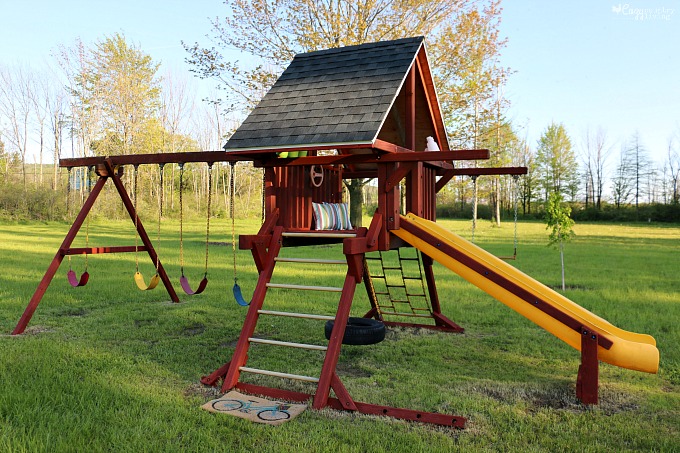
Our kiddos couldn’t be happier with their “NEW” Playset and it’s perfect timing too… just in time for summer!
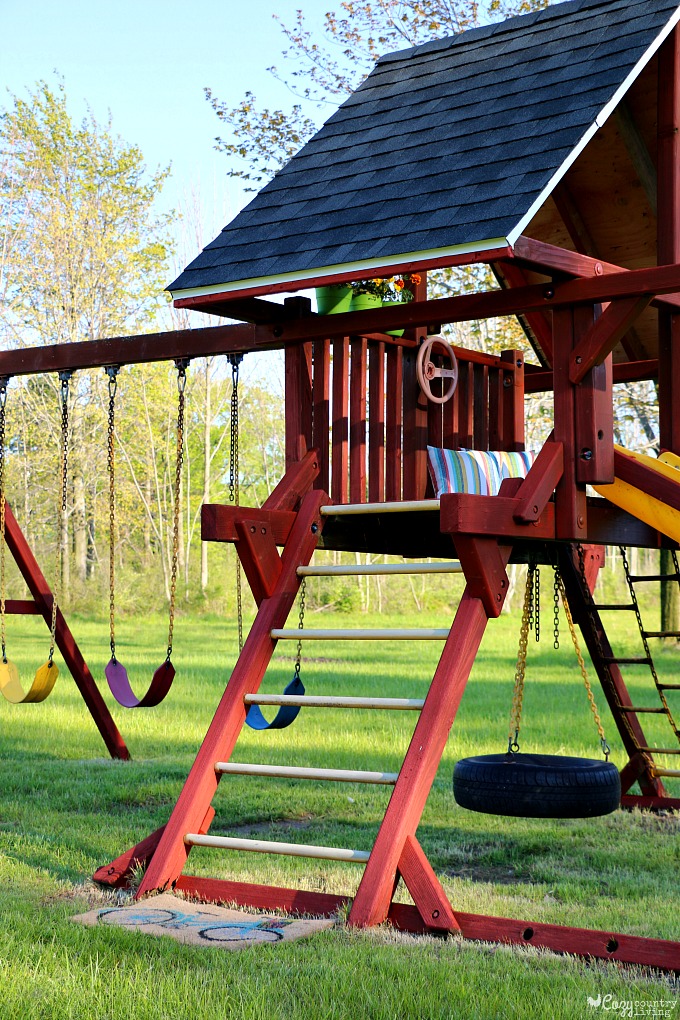
So what do you think? In the mood to spruce up your playset? Head to Lowes and make Your Old Playset NEW Again this weekend!

You May Also Enjoy:








Your playscape turned out so nicely…the new roof made such a difference! Love it. #client
Thank you so much Kristi! Our family loves it!